Configuring SSD-based Hot Storage
ObserveIT enables the use of SSD-basedHot storage in addition to the standard Warm storage in order to provide faster archiving of sessions with full video recording saved in the file system.
You can configure up to 4 multiple Hot storage locations and 1 Warm storage location.
After sessions that are stored in the SSD-based Hot storage are closed (i.e. the session is ended by the user), the Screenshots Storage Optimizer zips the session screenshots and moves them to the Warm storage as one file. The result is a faster archive process.
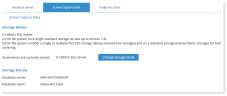
- Select the Screenshot Storage tab (Configuration > Storage Management > Storage.
-
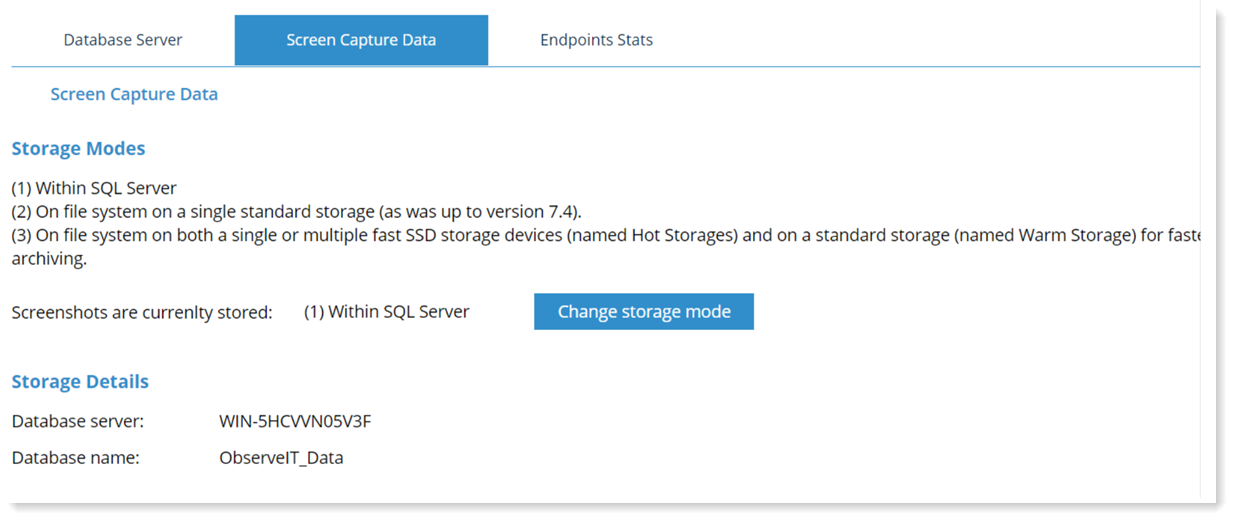
Click the Change storage mode button and Yes to confirm that you are sure you want to make changes. The Change Storage Mode dialog box displays.
-
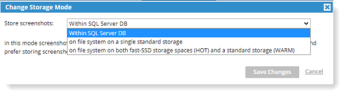
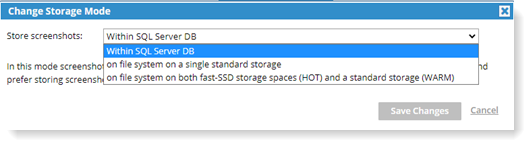
From the dropdown, select how you want screen capture data to be stored:
-
Within SQL Server DB: In this mode screenshots are saved within the SQL Server database. Complete the Storage path and Archive Path. Click Test Access for each path to verify ObserveIT can successfully access each path.
It is highly recommended to avoid this option and prefer storing screenshots on the file system
-
On file system on a single standard system: In this mode screenshots are stored on a single standard hard drive. Complete the Storage and Archive paths. Click Test Access for each path to verify ObserveIT can successfully access each path. Click Save Changes.
-
On file system on both fast SSD storage spaces (HOT) and a standard storage (WARM: In this mode screenshots of live sessions will be stored on a single or multiple fast SSD-based hard drive (HOT storage), and signed sessions will be stored on a standard hard drive.
You can add a single Hot location here. To add additional locations, select Add New Storage from the bottom of the Storage paths list. (See Adding Hot or Warm Storage.)
Click Test Access to ensure that the path is accessible and has the required READ permissions. For Hot storage path, you must configure and have access to one path. Later on you will be able to add more paths.
Click Save Changes. The File System Warm and Hot Storage become active and their properties will be displayed.
-
Storage Location Information
Storage location and other information is displayed about the configured storage in the Screenshot Storage tab.
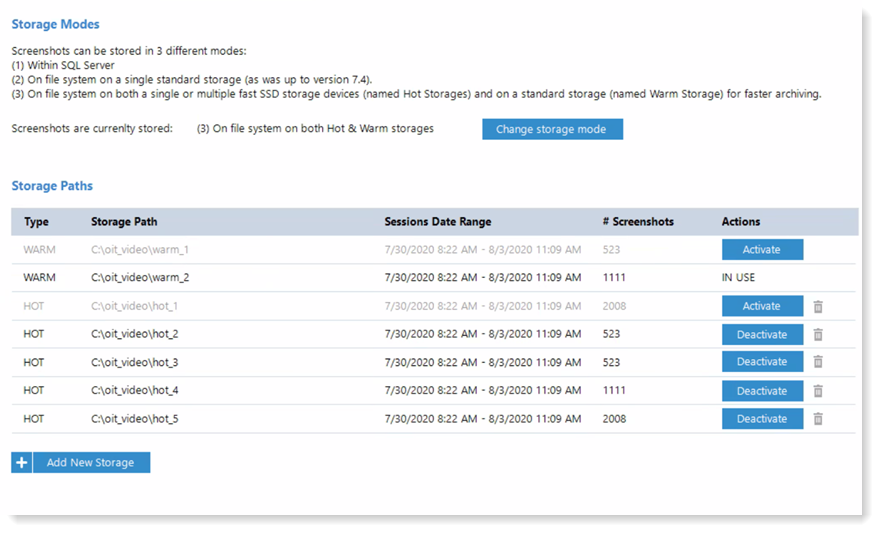
Activating/Deactivating Storage
You can activate up to 4 Hot storage location and 1 Warm storage location.
-
In the Actions column of the storage path list, click Activate or Deactivate.
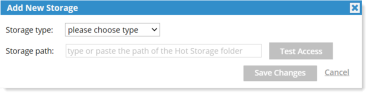
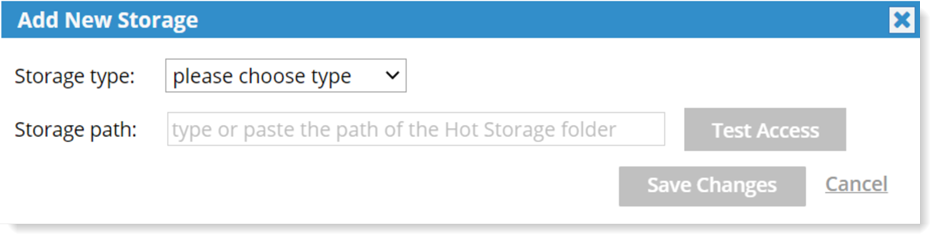
Adding Hot or Warm Storage
-
Click Add New Storage and the Add New Storage dialog box opens.
-
From the Storage type dropdown, select Warm or Hot.
-
Provide the Storage path.
-
Click Test Access for the path to verify ObserveIT can successfully access each path. Click Save Changes.
Deleting Storage
To delete a storage location, the storage path must be inactive and with no (0) screenshots.
-
Click the delete icon next to the storage location you want.