Proofpoint | ObserveIT On-Premises Insider Threat Management
Installing the Updater for Agent Auto Upgrade
The first time you use Agent Auto Upgrade you deploy the Updater on each endpoints. The Updater is the component that manages the upgrade process.
The AutoUpdateService folder contains the Updater files that you will install.
You can also deploy the Updater to the endpoints using a deployment tool such as SCCM.
After the Updater is deployed, you update the Agents from the Web Console using Agent Auto Upgrade.
From version 7.10, you will no longer need to use a 3rd party deployment tool. The upgrade is completed and deployed from the Web Console. When upgrading to 7.10, you will still need to deploy with a 3rd party tool, such as Microsoft SCCM.
For version 7.10.0, if you have already deployed the Agent Updater from version 7.9.x, it is not supported with OIT server side 7.10.0. To use the feature and have the ability also to update the Agent Updater remotely, you must update the Agent Updater to 7.10.0.
This feature is available from version 7.9. You can use Agent Auto Upgrade to upgrade from version 7.1.
Installing the Updater
You install the Updater after you complete the server-side upgrade.
-
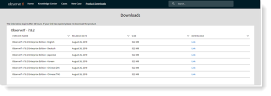
Download the files you need from here.
-
Log in and from Product Downloads, click the Link you want.
-
Save the file to
C:\Tempon the ObserveIT Application server. -
Extract the content of the ZIP file.
The Updater folder AutoUpdateService is extracted.
-
From the AutoUpdateServicefolder, select the relevant folder and run the file for your system.
- WinAgentUpdater64bit
- WinAgentUpdater32bit
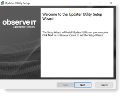
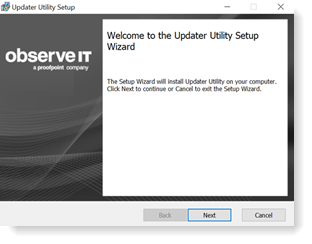
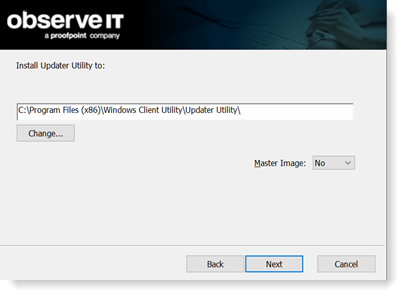
The Updater Utility Setup opens.
-
Click Next and accept the license agreement to proceed to the Install Update Utility field.
-
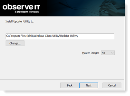
Enter the server name and click Next.
The Updater is deployed.
From version 7.10, when upgrading, you will no longer need to use a deployment tool. You will however still need to do this to upgrade to version 7.10.

Silent Installation
For a silent installation, use the WinAgentUpdater64bit.cmd.
PROXY_DEFAULT_CREDENTIALS are supported for Disable (0) only.
The following parameters are available:
APP_SERVER_URL specifies the address for the Application Server APP_
SERVER_PORT = specifies the port for the Application Server(default 4884)
To use Master Image mode: MASTER_IMAGE="1" (0 or 1 (1=true) (default 0))
USE_SSL = 0 or 1 (https/http) ) (default 0)
INSTALLDIR specifies desired installation directory
ARPSYSTEMCOMPONENT="1" specifies the system to hide the Windows Client Utility Updater Agent from the Add/Remove window in Control Panel
/LEO specifies to creating logging with errors only, other options include: /L*VX log.txt
Use the following for Proxy server installation:
-
PROXY_ENABLE=1 -
PROXY_HOSTNAME="" -
PROXY_PORT="" -
PROXY_USER_CREDENTIALS=1 (enabled) or 2 (not enabled)If
PROXY_USER_CREDENTIALSis 1 (enabled) then the following are required:-
PROXY_USERNAME="" -
PROXY_PASSWORD=""
-
-
If
PROXY_USER_CREDENTIALSis 1 (enabled) then the following is optional:-
PROXY_DOMAIN=""
-
In version 7.12.3, when PROXY_DEFAULT_CREDENTIALS=0, PROXY_DOMAIN and PROXY_USERNAME are required.
Related Topics: