Configuring a Mac Agent to use SSL
This procedure describes how to install a trusted internal CA certificate on a Mac.
For information about Configuring a Self-signed certificate, see Configuring a Self-Signed Certificate.
For macOS Catalina 10.15, make sure your certificates comply with the new security requirements for TLS server certificates in iOS 13 and macOS 10.15. (See Requirements for trusted certificates in iOS 13 and macOS 10.15.)
Obtaining and Importing a Certificate
If you do not already have a trusted internal CA certificate, perform the following procedure to obtain and import the certificate.
To obtain and import certificates
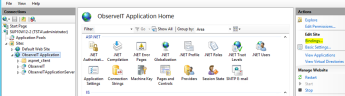
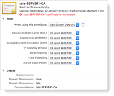
- Go to Start > run and enter inetmgr.
-
Go to ObserveIT Application, and select Bindings.
-
In the Site Bindings dialog box, select the https protocol and click Edit.
-
In the Edit Site Bindings dialog box, click View.
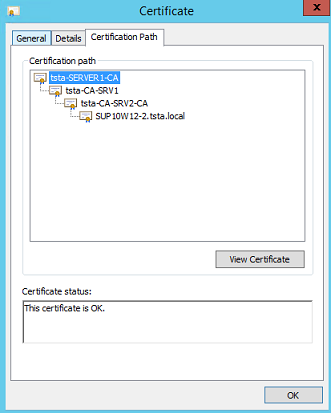
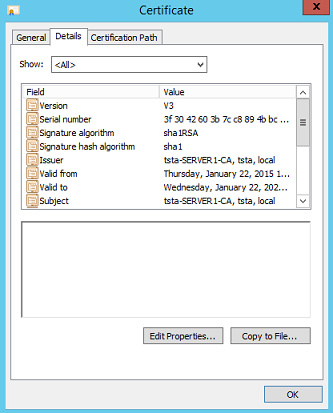
- In the Certificate dialog box, select the Certification Path tab, select the root CA certificate, and click View Certificate.

- Select the certificate's Details tab, and click Copy to File.

-
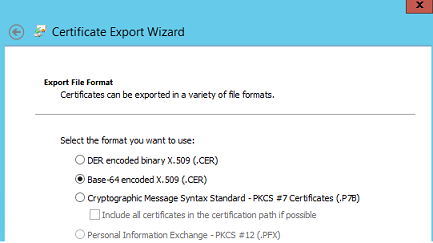
In the Certificate Export Wizard that opens, click Next.
- Select the Base-64 encoded X.509 (.CER) format option, and click Next.

- Click Browse, and specify the name of the file to which you want to export the certificate.

-
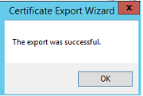
Click Next, and then click Finish to close the Certificate Export Wizard.
-
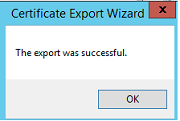
In the message box stating that the export was successful, click OK.

Copy the Certificate to your Mac
-
Copy the Certificate to your Mac target server.
-
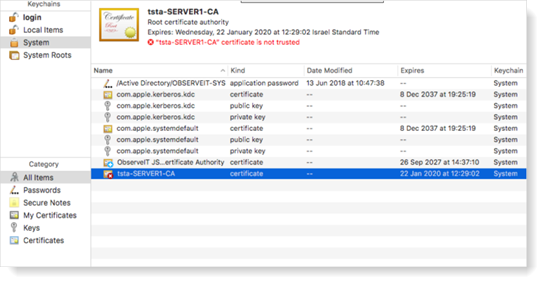
Select Keychain Access
 .
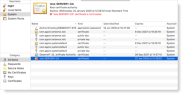
.The list of certificates displays. A red X indicates that the certificate is not trusted, for example, tsta-SERVER1-CA in the list below.
-
Select the certificate you want to make Trusted.
-
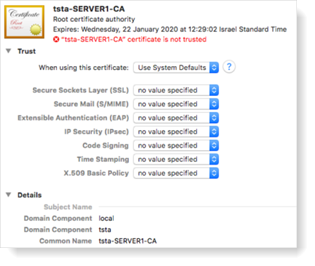
Set the Trust level according to your company's requirements. At a minimum, you must select Always Trust for the When using this certificate option.
Related Topic: