Activating the ObserveIT License
Whether you are using the ObserveIT On-Prem product for the first time or you are upgrading from existing versions or migrating to another server, you will need to provide and activate a license.
This is a new procedure. Previously, an email was sent with the activation key. Now you can set up and activate from the Proofpoint Community page.
Prerequisites:
-
Access to the ObserveIT On-Prem Web Console.
-
Access to the Proofpoint Community page as an authorized support contact. If you do not have this access, contact your Proofpoint Account Manager.
Proofpoint Community https://proofpointcommunities.force.com/community/s/
Activating a Registration
Use this procedure if you are:
-
activating a new registration for a Web Console
-
activating multiple Web Consoles, select the high availability option (see Activating a New Registration with High Availability)
-
migrating to a new server and activating
-
To get started, you will need to copy the registration key that is provided in the ObserveIT Web Console.
From the Web Console, open the License page by selecting Configuration > Settings > License.
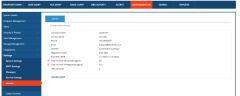
-
Click the Change License link.
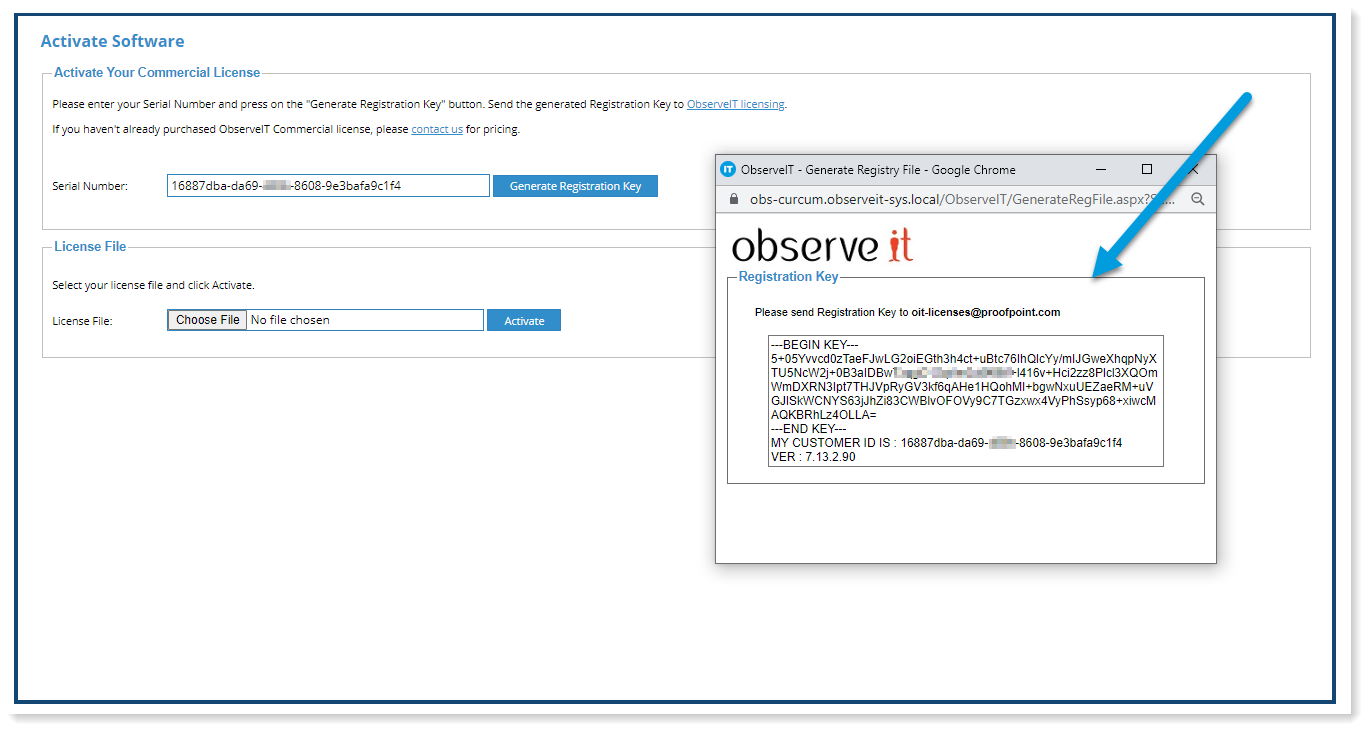
The Activate Software page opens.
-
In the Serial Number text box, copy the serial number you previously received from Proofpoint Fulfillment team and paste it in the Serial Number text box. (Make sure to copy the entire Serial Number with no spaces.)
For a serial number, contact your Proofpoint account manager and request your ObserveIT on-Prem registration’s serial number. The serial number will be sent to you from ProofPoint @Fulfillment team.
-
Click Generate Registration Key.
A pop-up window opens with the registration key.
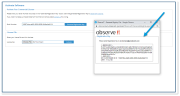
-
Copy the registration key that you see in the pop-up.
-
Now go to the Proofpoint Community page.
Log in to the Proofpoint Community https://proofpointcommunities.force.com/community/s/
-
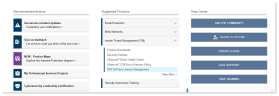
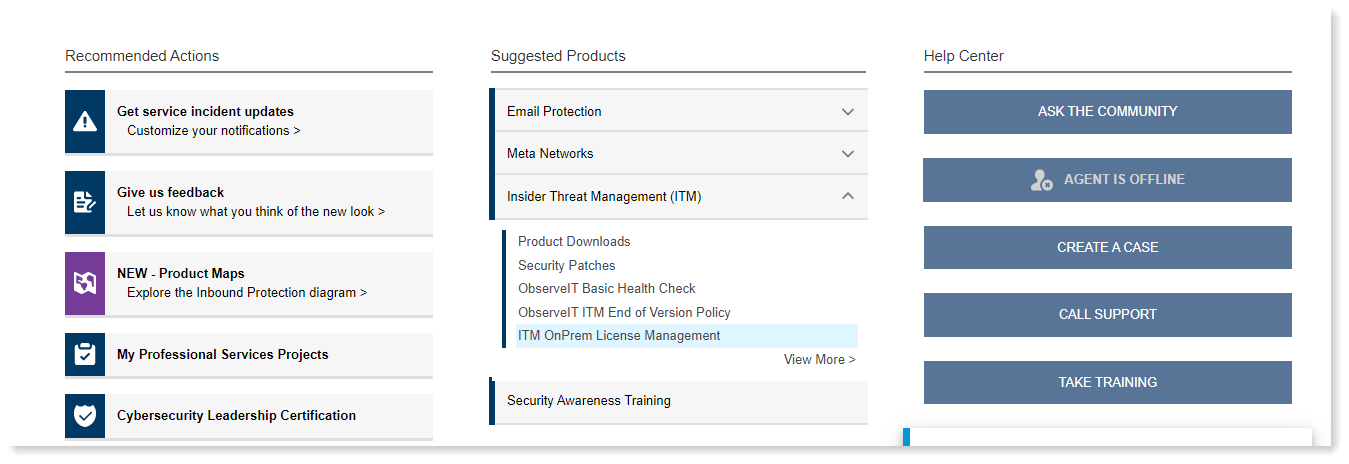
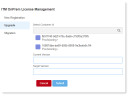
In the Proofpoint Community home page, from the Suggested Products column, select Insider Threat Management (ITM) > ITM OnPrem License Management.
The ITM OnPrem License Management dialog box opens.
-
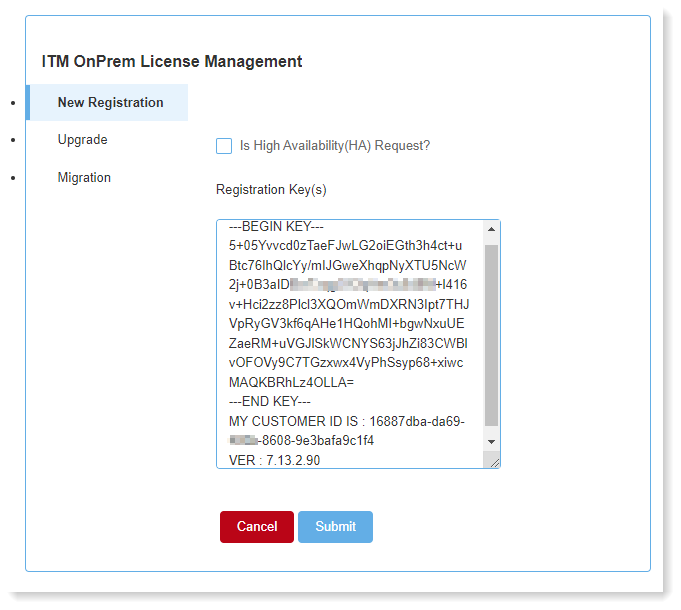
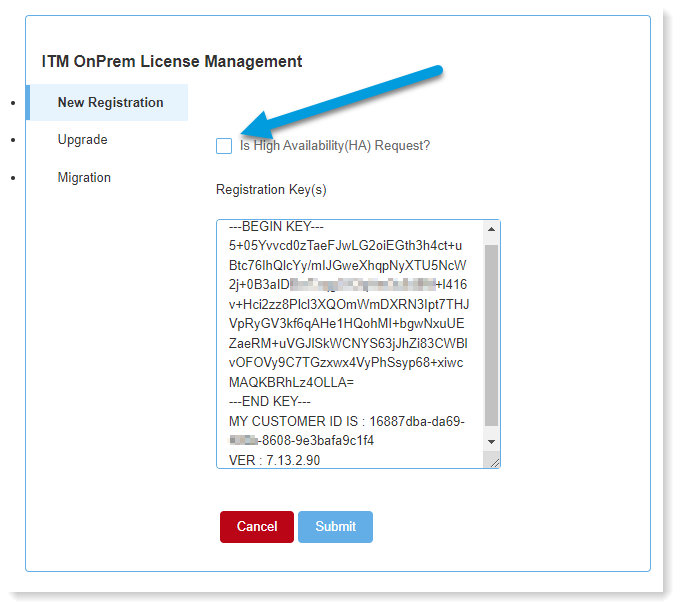
In the ITM OnPrem License Management dialog box, click the New Registration button.
If you are migrating to a new server, select Migration and continue this procedure.
-
In the Registration Key(s) area, paste the registration key you copied from the Web Console
-
Click Submit.
-
On the left side, in the Related Information area, you see the link to download the License Files. Click Download.
-
When the file is downloaded, return to the Web Console and continue the activation process. (It is recommended that you reopen the page to avoid session time out errors.)
-
In the License File section of the Activate Software page, click Browse to find the license file.
-
Click the Activate button to use the specified license file.
-
After your product has been activated, the Web Console Login screen will open.

Activating a New Registration with High Availability
If you are registering multiple consoles, use the high availability option. This capability is purchased separately.
-
From each Web Console, you will need to retrieve a registration key. Follow the steps described in Activating a Registration.
-
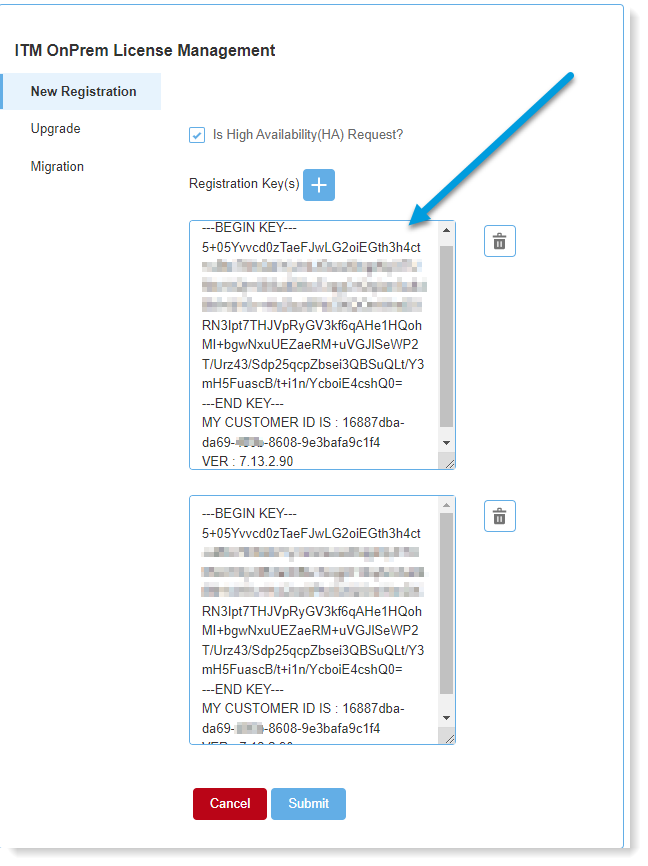
When you log in to the Proofpoint Community https://proofpointcommunities.force.com/community/s/ from the ITM OnPrem License Management dialog box, select New Registration and check High Availability (HA) Request .
-
Click + next to Registration Key(s) for as many consoles as you need.
-
For each Web Console, copy the registration key and paste it in the Proofpoint Community page.

Activating an Upgrade
Use this option when upgrading, for example from 7.13.1 to 7.13.2.
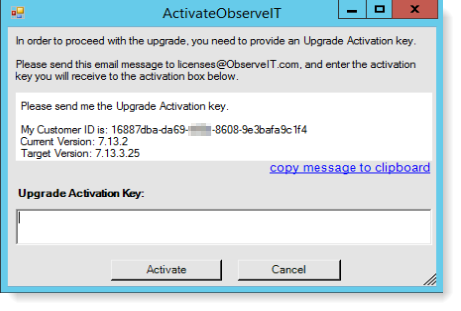
The serial number that you will need for upgrading will be sent to you when you upgrade the database. For information about how to upgrade the database, see Manually Upgrading the Database. After the database upgrade process begins, you will be prompted to enter the Upgrade Activation Key.
-
To generate the Upgrade Activation Key, in the Proofpoint Community, from the Suggested Products column, select Insider Threat Management (ITM) > ITM OnPrem License Management.
-
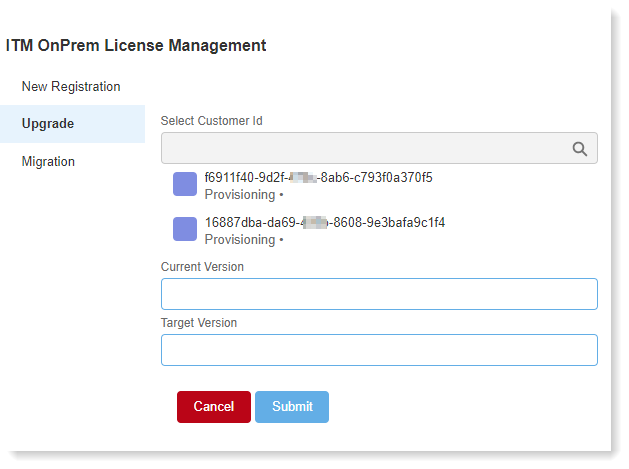
In the ITM OnPrem License Management dialog box, click the Upgrade button.
-
In the Select Customer Id text box, copy/paste the customer ID, from My Customer ID in the prompt you received when upgrading.
-
In the Current Version and Target Version text boxes, enter the relevant versions as shown in the prompt.
-
Click Submit.
-
On the left side, in the Related Information area, you see the link to download the License Files. Click Download.
-
When the file is downloaded, return to the Web Console and continue the activation process.
-
In the License File section of the Activate Software page, click Browse to find the license file.
-
Click the Activate button to use the specified license file.