Exporting List Items
ITM On-Prem (ObserveIT) enables you to export all the content of a List (List Items) to a file. You simply select the List whose contents you wish to export in the Create/Edit List page in the ITM On-Prem Web Console, and provide the location for the export file. A .CSV file is created in the format: List - <list name> - YYYY-MM-DD—HH-MM.
The List Items section of the Create/Edit List page displays the currently defined items for the selected List.
You can navigate to the Create List page by clicking the New List button in the Manage Lists page (Configuration > Alerts > Lists). The Edit List page opens by clicking the List's hyperlink in the Manage Lists page.
To export List items to a .CSV file
-
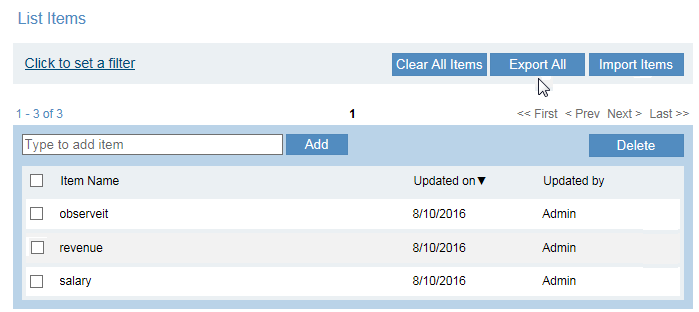
In the Create/Edit List page, click the Export All button that is displayed above the current list of items.
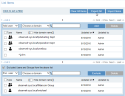
For example (General type list contents):

-
Select the location to where you want to export the content.
All the items will be exported to a .CSV file in the format: List - <list name> - YYYY-MM-DD—HH-MM in the specified location.
If the List is empty (i.e., contains no items) an error message is displayed.
-
In the case of Users type Lists:
Clicking Export All exports all the included and excluded items.
Each item that is exported has an indication of whether it is a user or group, and whether it is included or excluded.

Important note for exporting list content to a CSV file
In order to view CSV file content, it is recommended that you open the file in a simple text editor, such as Notepad, Notepad++, UltraEdit, and so on. If you are using Microsoft Excel, then you should not open the CSV file by double-clicking it or by choosing File > Open. If you must open the file in Excel, it is recommended that you use the built-in wizard for importing text content to Excel, as described in the following steps (relevant for Outlook 2016):
-
Create a new worksheet.
-
From the Data tab, select the From Text button.
-
Browse the Import Text File dialog to select the required file.
-
In Step 1 of the Text Import Wizard, select Delimited and click Next.
-
In Step 2, deselect Tab and select Comma as the delimiter to be used in the CSV file. Set Text qualifier to (none). Click Next.
- In Step 3, set Column data format to Text. Click Finish.