Importing Rules
Importing rules is managed by a straightforward wizard that notifies you in advance about any potential conflict or missing data on the target environment, so that you can quickly address it.
Rules from ITM On-Prem (ObserveIT) versions earlier than 6.7 cannot be imported.
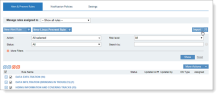
The import of rules that were previously exported is done from the Alert & Prevent Rules page in the ITM On-Prem Web Console. You can navigate to this page via Configuration > Alerts > Alert & Prevent Rules. For details on how to export rules, see Exporting Rules.
To import rules that were exported
-
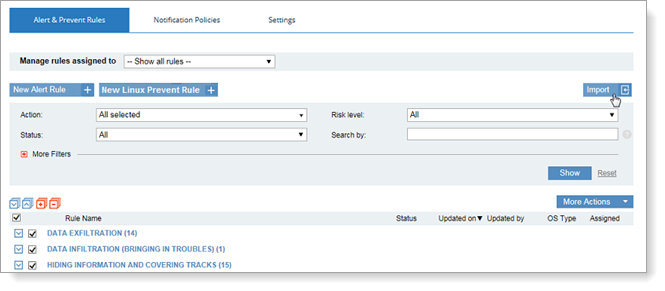
Click the Import button in the Alert & Prevent Rules page.
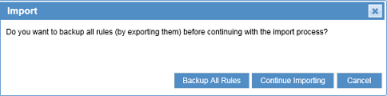
A dialog box opens, asking if you want to back up all the rules in the system before continuing with the import process.
-
If you select Backup All Rules, all existing rules will be exported to a file with their defined defaults.
-
If you select Continue Importing, the Import page opens directly.
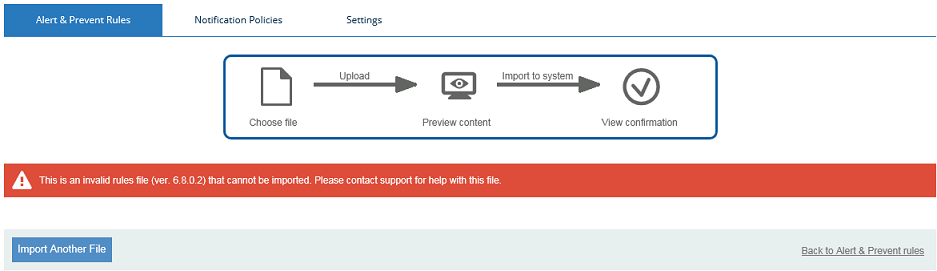
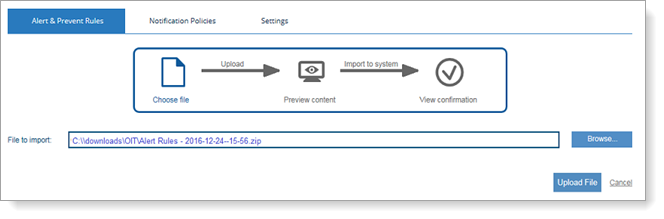
The Import page displays the 3 steps that comprise the import process:
-
Choose the exported file for upload.
-
Preview content of the file to be imported to your system.
-
View confirmation that the import was successful.
-
-
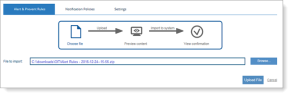
Click the Browse... button to locate the ZIP file containing the exported rules that you want to import (identified by date and time), and click the Upload File button.
If you want to import System Rules that were exported from the ITM On-Prem (ObserveIT) Insider Threat Library (ITL) by ObserveIT, you can easily identify the ZIP file by the "ITL version number" prefix before the date and time; for example: "ITL 6.8.0.3 - 2016-11-06--09-05.zip". For details about the preview screen that opens when importing System Rules, see Importing System Rules from the Insider Threat Library.
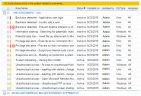
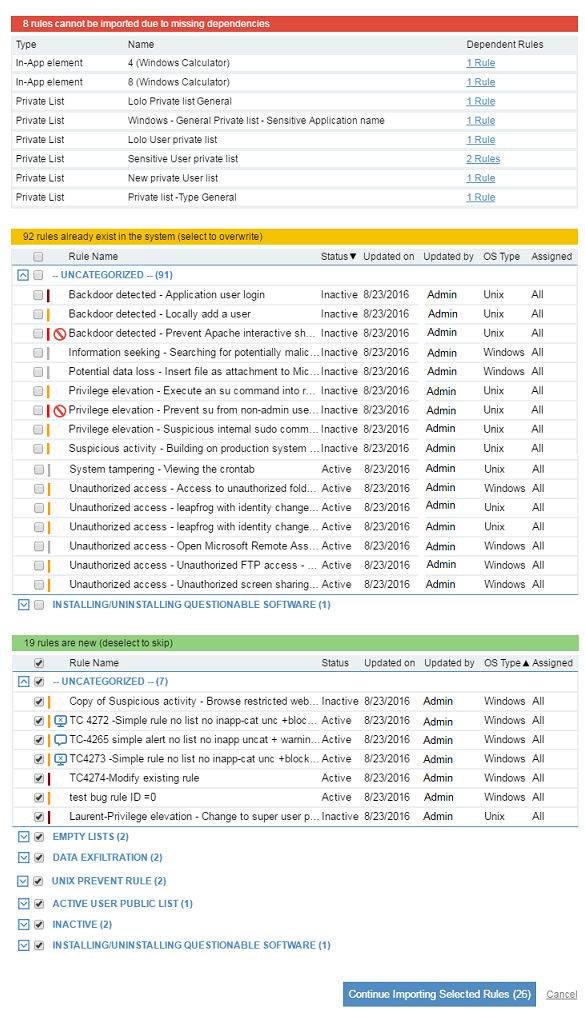
After clicking the Upload File button, a preview screen opens, enabling you to review the content of the file to be imported, and change the selection of files for import, if required.

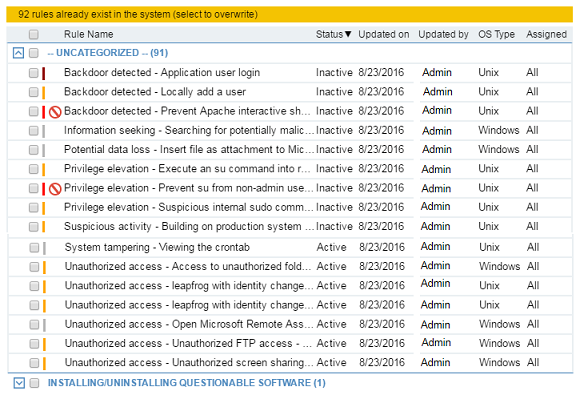
If the selected file contains rules that already exist in the system, the message <num> rules already exist in the system (select to overwrite)is displayed in the preview screen on a yellow background, as shown in the following example:
By default all the rules are deselected. You can select specific rules (or click Select All) to overwrite the existing rules.
If the selected file contains rules which are new and do not have dependencies, the message <num> rules are new (deselect to skip)is displayed in the preview screen on a green background, as shown in the following example:

By default all the new rules are selected. You can deselect specific rules or click Select None.
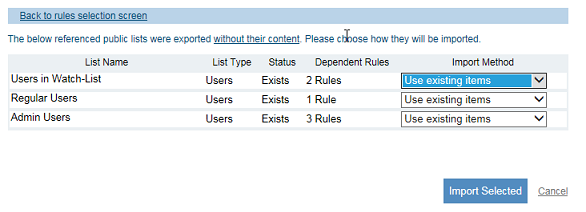
If some of the Lists were exported without content (Items), you can choose to import them using existing Items or not import their related rules (as shown in the following example):
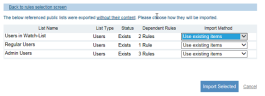
When importing a public list that does not exist in the system, if the imported list has content, copy the list with its items. Related rules are not imported.
If the list you are importing has no content, if the list does not already exist in the system, import it with its empty content (i.e., no items).
-
When you have finished previewing or making changes to the rules' selection, click the Continue Importing Selected Rules <num> button.
The number of rules displayed on the button comprises the selected new rules and the System rules.


Upon successful completion of the file import process, a confirmation message is displayed showing the number of rules that were successfully imported and the number that were removed (if relevant), as shown in the following example:
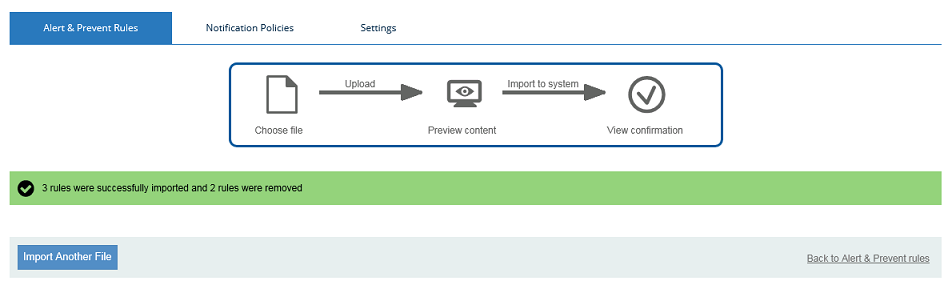
The Alert & Prevent Rules page will be refreshed to display the newly imported rules.
Note: If the import process fails for one or more rules, an error message is displayed showing the rules that were not imported.
The following example shows a failed import due to an invalid file: