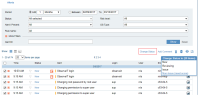
Changing the Status of Alerts
In the Alerts page, you can view the current status of each generated alert in the Alerts list.
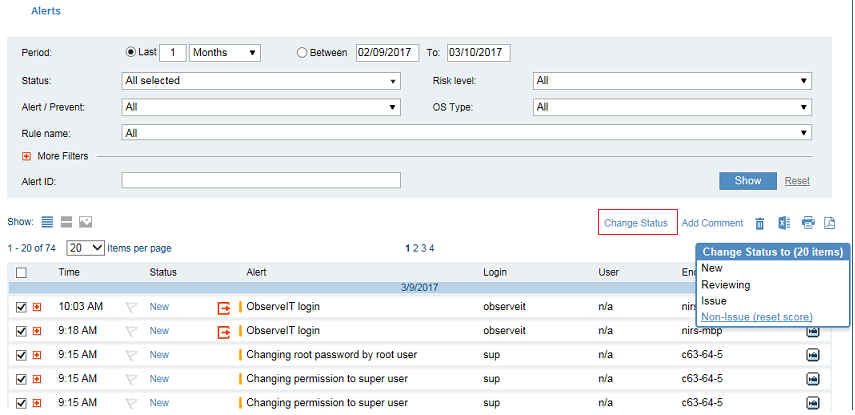
Alerts can have one of the following statuses:
-
New: Newly-configured alerts that have not yet been assigned any other status.
-
Reviewing: Alerts that are currently being reviewed by the administrator for follow-up action.
-
Issue: High risk alerts that require attention by the administrator and contribute to the user risk score during user risk analysis. User risk score is a value attributed to user actions, which depend on risk severity levels.
-
Non-Issue: Alerts that have been reviewed by the administrator and are considered low risk. These alerts will not contribute to the user risk score during user risk analysis.
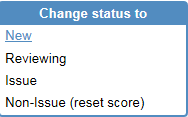
To change the status of a single alert
- Next to the required alert, click the current status text in the Status column. The Change Status popup opens.
- Select the required status.
If you change the status to Non-Issue, the alert score will be reset to zero and the risk score will be reduced for the user for whom the alert was defined. In the User Risk Dashboard, you will be able to see the change in the user's risk score and a reduction in the number of alerts assigned to the user. If warning notifications or blocking messages were assigned to the user, these indications will also be reduced.
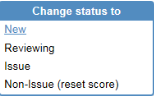
To change the status of multiple alerts
- Select the required alerts, and click the Change status link above the table.
The Change Status to popup opens, displaying the number of selected items.
- Select the required status change.
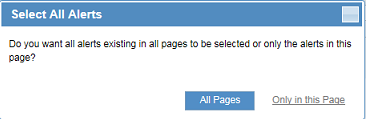
To change the status of all alerts on the current page or on all pages
- Click the selection icon in the header to select all alerts.

A Select All Alerts pops up asks if your selection applies only to the current Alerts page or to all pages.

- Select All Pages or Only on this Page.
After selecting All Pages, the selection icon will change to
 ; otherwise, it will remain as
  . If not all alerts are selected in the current page, but all the alerts are selected on subsequent pages, the selection icon appears as
  .
. -
Click the Change status link above the table.
-
In the Change Status to popup, select the required status change for all the selected alerts.