Proofpoint | ObserveIT On-Premises Insider Threat Management
Mac Agent Mass Deployment using JAMF
This topic describes how to deploy Mac Agents using JAMF.
Prerequisites for Mass Deployment
-
You need the
observeit-agent-OSX-<version>.dmglocated in the ObserveIT Mac Agent installation directory folder. This file includes the ObserveIT package fileobserveit-agent-OSX-<version>.pkg. -
Copy the
observeit-agent-OSX-<version>.pkgpackage file to your desktop or another folder that is easily accessible.From version 7.12.0, before deploying, you must download the script file with authentication details. This script file
preinstall.shis downloaded from the Web Console Configuration > Settings > Service Settings. (See Configuring Service Settings.)For more information about the files, see Mac Agent Files.
Mac configuration profile must be configured and installed in order for the Agent to record. Do not remove the configuration profile from an endpoint with an installed Agent. See What You Need to Know about Mac Agent Setup.
JAMF Limitations
If you're using JAMF:
-
You must use JAMF 10.25 or later with macOS 11 Big Sur.
-
You must use JAMF 10.15.1 or later with macOS 10.15 Catalina.
-
You must use JAMF 10.7.1 or later with macOS 10.14 Mojave.
-
If the error message "Unable to decrypt encrypted profile" displays, upgrade to JAMF 10.9.x or later to resolve it.
Preparing Silent Installation
- From the JAMF Web console dashboard, click the Computer button and select Configuration Profiles from the menu on the left-side. The Configuration Profiles screen displays.
-
Click the Upload button.
-
Choose the configuration file:
Make sure you select the configuration profile for the macOS version you are using.
To upgrade to Big Sur, if you are using a version 7.11.0, use IT Viewer
macOS 11.x.mobileconfigorIT Viewer macOS 11.x.signed.mobileconfig.To access the configuration profile, extract or mount the observeit-agent-OSX-<version>.dmg.
The file is uploaded and the Configuration Profiles window opens.
-
Select the Options tab and do the following:
-
Set the Distribution Method to Install Automatically.
-
Set the Level to Computer Level.
-
-
Select the Scope tab and in the Add Deployment Targets area, add the relevant computer.
- Click Save and close JAMF.
-
From System Preferences > Profile, do one of the following to verify that the process controller is granted access:
- For macOS Catalina, verify the process controller is allowed access to data and applications, as well as control of the computer.
Removing the Process Controller Configuration Profile
-
From the JAMF Web console dashboard, click the Computer button and select Configuration Profiles from the menu on the left-side. The Configuration Profiles screen displays.
-
Select the Scope tab and click the Edit button at the bottom of the screen.
-
From the list of configuration profiles, select the one you want to remove. Click Remove and Save.
You are prompted to select the redistribution option after the configuration profile is removed.
-
Click Save the configuration profile.
This configuration profile is used with the silent installation solution for mass deployment, supported from macOS Mojave 10.14.
Optionally, you can modify this configuration profile and change the process name from its default, "logger".
Modifying the Configuration Profile for Obfuscation
Modify the configuration profile for obfuscation.
To access the profile, extract or mount the observeit-agent-OSX-<version>.dmg.
For macOS Big Sur, access IT Viewer macOS 11.mobileconfig and for macOS Catalina or macOS Mojave, access IT Viewer macOS 10.x.mobileconfig.
-
From the JAMF Web console dashboard, click the Computer button and select Configuration Profiles from the menu on the left-side. The Configuration Profiles screen displays.
-
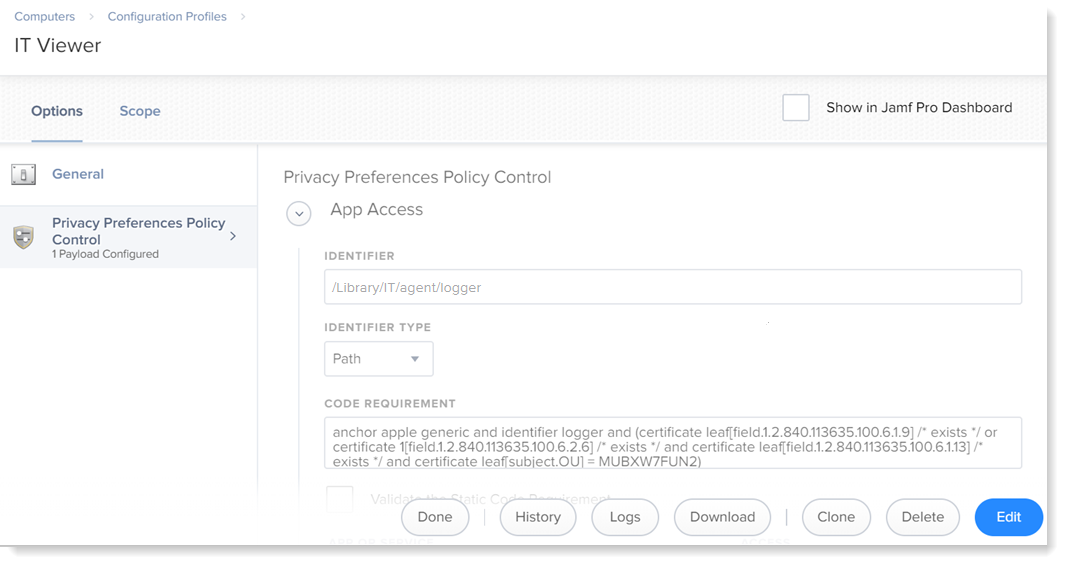
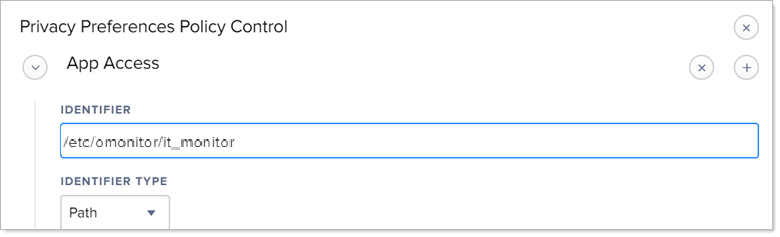
Select the IT Viewer Configuration policy and then select Privacy Preferences Policy Control option.
The Privacy Preferences Control screen displays.

-
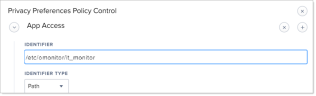
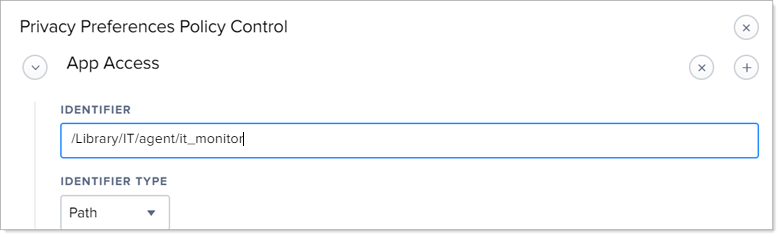
Click Edit and in App Access area, in the Identifier field, replace "logger" with the name you want. (In the example, "logger" is replaced with "it_monitor".)
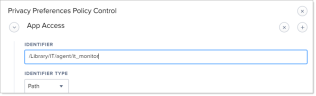
-
Scroll down to the next App Access area, and in the identifier field, replace "logger" with the name you want.
-
Save your changes.
Uploading the Package file to JAMF
-
Upload the package you want to deploy.
-
Open the JAMF Web Console Dashboard main screen.
-
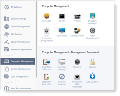
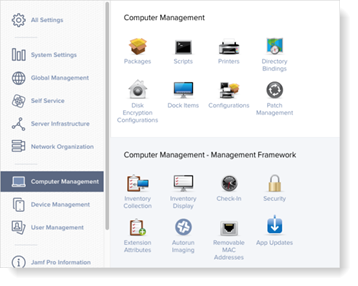
Click the Settings icon
 and select Computer Management from the All Settings menu.
 -
The Computer Management area displays.
-
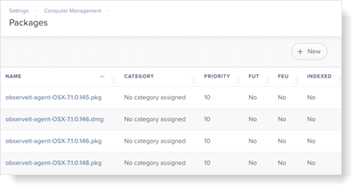
Click the Packages icon
 and the Packages page opens with the list of packages.
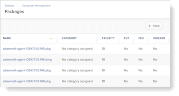
-
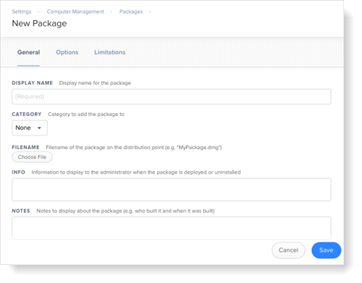
Click the New button to add the
observeit-agent-OSX-<version>.pkgpackage file that you copied to your desktop (or other folder).The New Package page opens.
-
Click the Choose File button to select the Filename of the package that will be uploaded to the JAMF server.
For example: observeit-agent-OSX-7.8.2.20.pkg.
-
Select the file and click Choose.
-
In the Display Name field, you see the name of the package you selected.
-
Click Save and the package is added.

Uploading the Preinstall Script to JAMF
From version 7.12, the preinstall script downloaded from the Web Console. See Configuring Service Settings.
-
Upload the
preinstallscript so you can modify the relevant parameters. These parameters will be applied to when the install is run. -
Open the
preinstallscript and copy it's contents using a text editor.If you are using macOS Catalina, by default screen captures are not recorded, only meta-data is recorded. To configure the Screen Recording Prompt Pop-Up before you copy the
preinstallscript, see Modifying the preinstall script. -
From the main dashboard, click the Settings icon
and select Computer Management from the All Settings menu. -
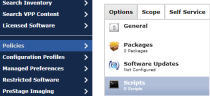
Click the Scripts icon
 and the Scripts page opens.
 -
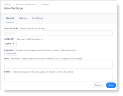
Enter the Display Name.
-
Click the New button to copy the preinstall script file to the New Script page.
-
From the Options tab, set the Priority to Before so the script runs before the package.
-
Click Save.
Creating a Policy
Create a policy for deploying to the relevant computers. The policy includes the package file and the script with the parameters you defined.
-
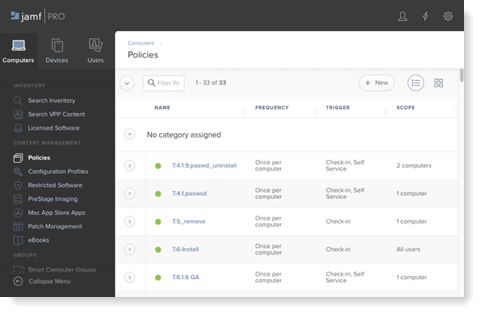
From the JAMF Web Console Dashboard, click the Computer button and select Policies from the menu.
-
The Policies page displays listing the currently defined policies.
-
Click the New button to create a policy.
Defining the Parameters of the New Policy
-
In the Options tab, under General:
-
Specify a Display Name for the policy.
-
Make sure that the Enabled check box is selected, so that you can run the policy.
-
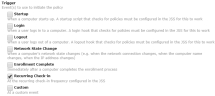
Under Trigger, select Recurring Check-in, so that the policy will be applied to all the relevant computers at the next time slot (usually every 15 minutes if the JAMF server is up).

-
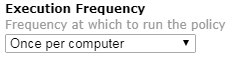
Select the frequency at which to run the policy.

Adding and Configuring the Package in the Policy
-
From the Policies > Options tab, click Packages. Options> General.

-
Select Configure, and then from the list of packages, click the Add button alongside the package you want to deploy in the policy.
-
In the Options tab, under Packages, select the Install action from the drop-down list.
-
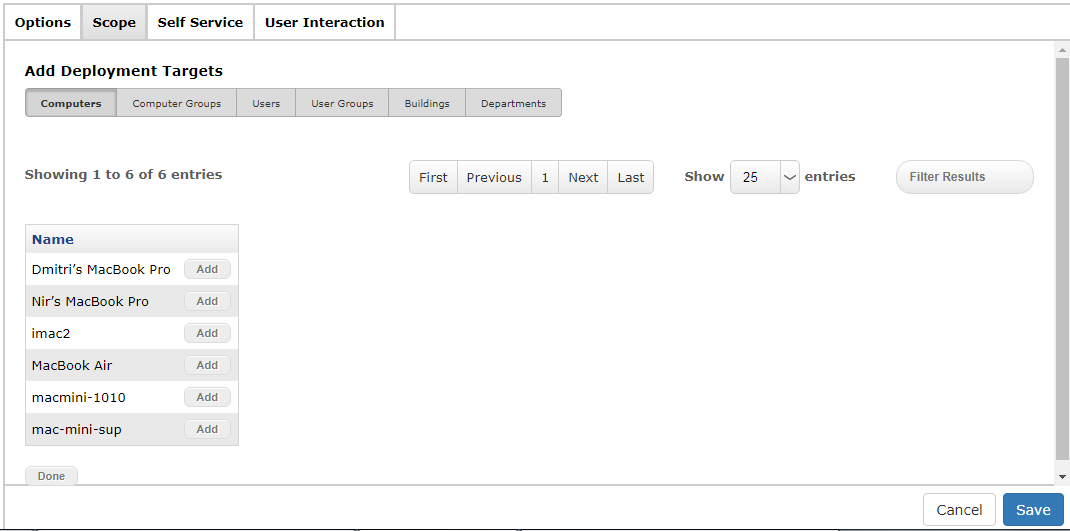
In the Scope tab, in the Selected Deployment Targets area , select the Mac Agents on which to deploy the package. Click the Add button alongside each target Agent. Then click Done.
The Mac Agents listed as available deployment targets must have the JAMF Agent installed.

If you want to run the package yourself, under the Self Service tab, enable the Make the policy available in Self Service check box.
-
Click Save when you have finished configuring the Package for the policy.
Adding and Configuring the Script in the Policy
-
From the Policies > Options tab, click Scripts.
-
Select Configure, and then from the list of scripts, click the Add button alongside the script you want to add to the policy.
-
In the Options tab, under Scripts, make sure the priority for running the script is set to Before.


-
In the Scope tab, select the Mac Agents on which to deploy the script. Click the Add button alongside each target Agent. Then click Done.
-
Click Save when you have finished configuring the Script for the policy.
Deploying the Policy
After creating a policy with the package and script, the JAMF Agent on the local computer will deploy the policy next time it checks in with the JAMF server (by default every 15 minutes).
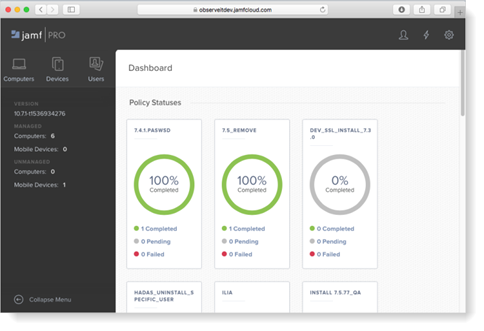
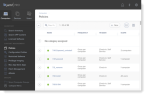
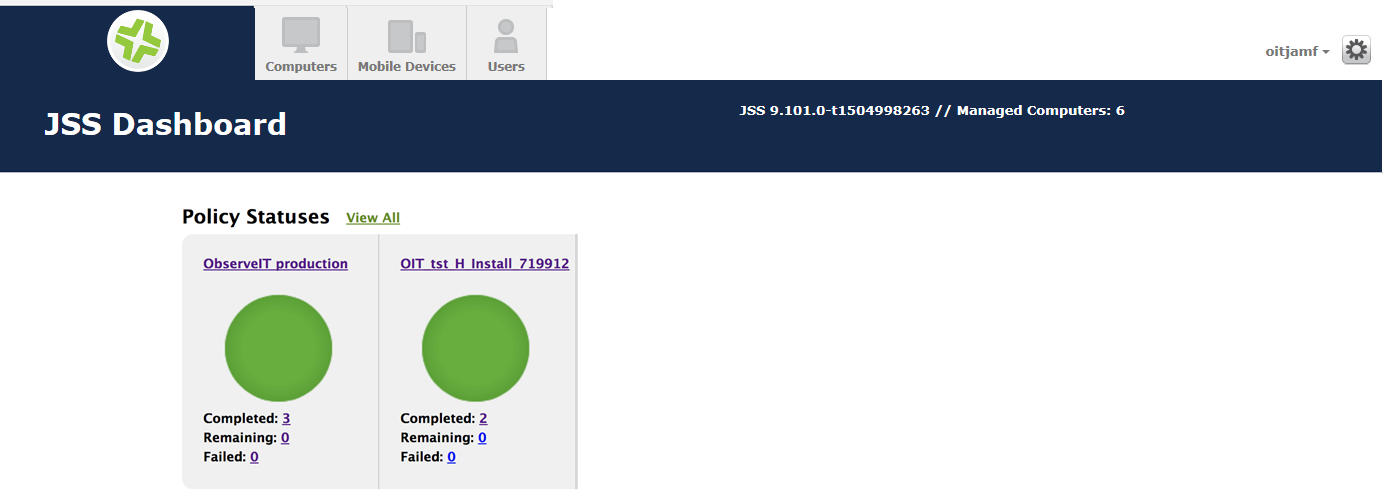
You can monitor the progress of the deployment in the JSS Dashboard.
-
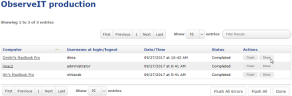
To check the installation logs, click the Logs button for the selected policy. For example:
The status of the policy deployment will be displayed for each Agent.
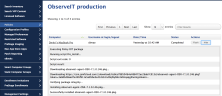
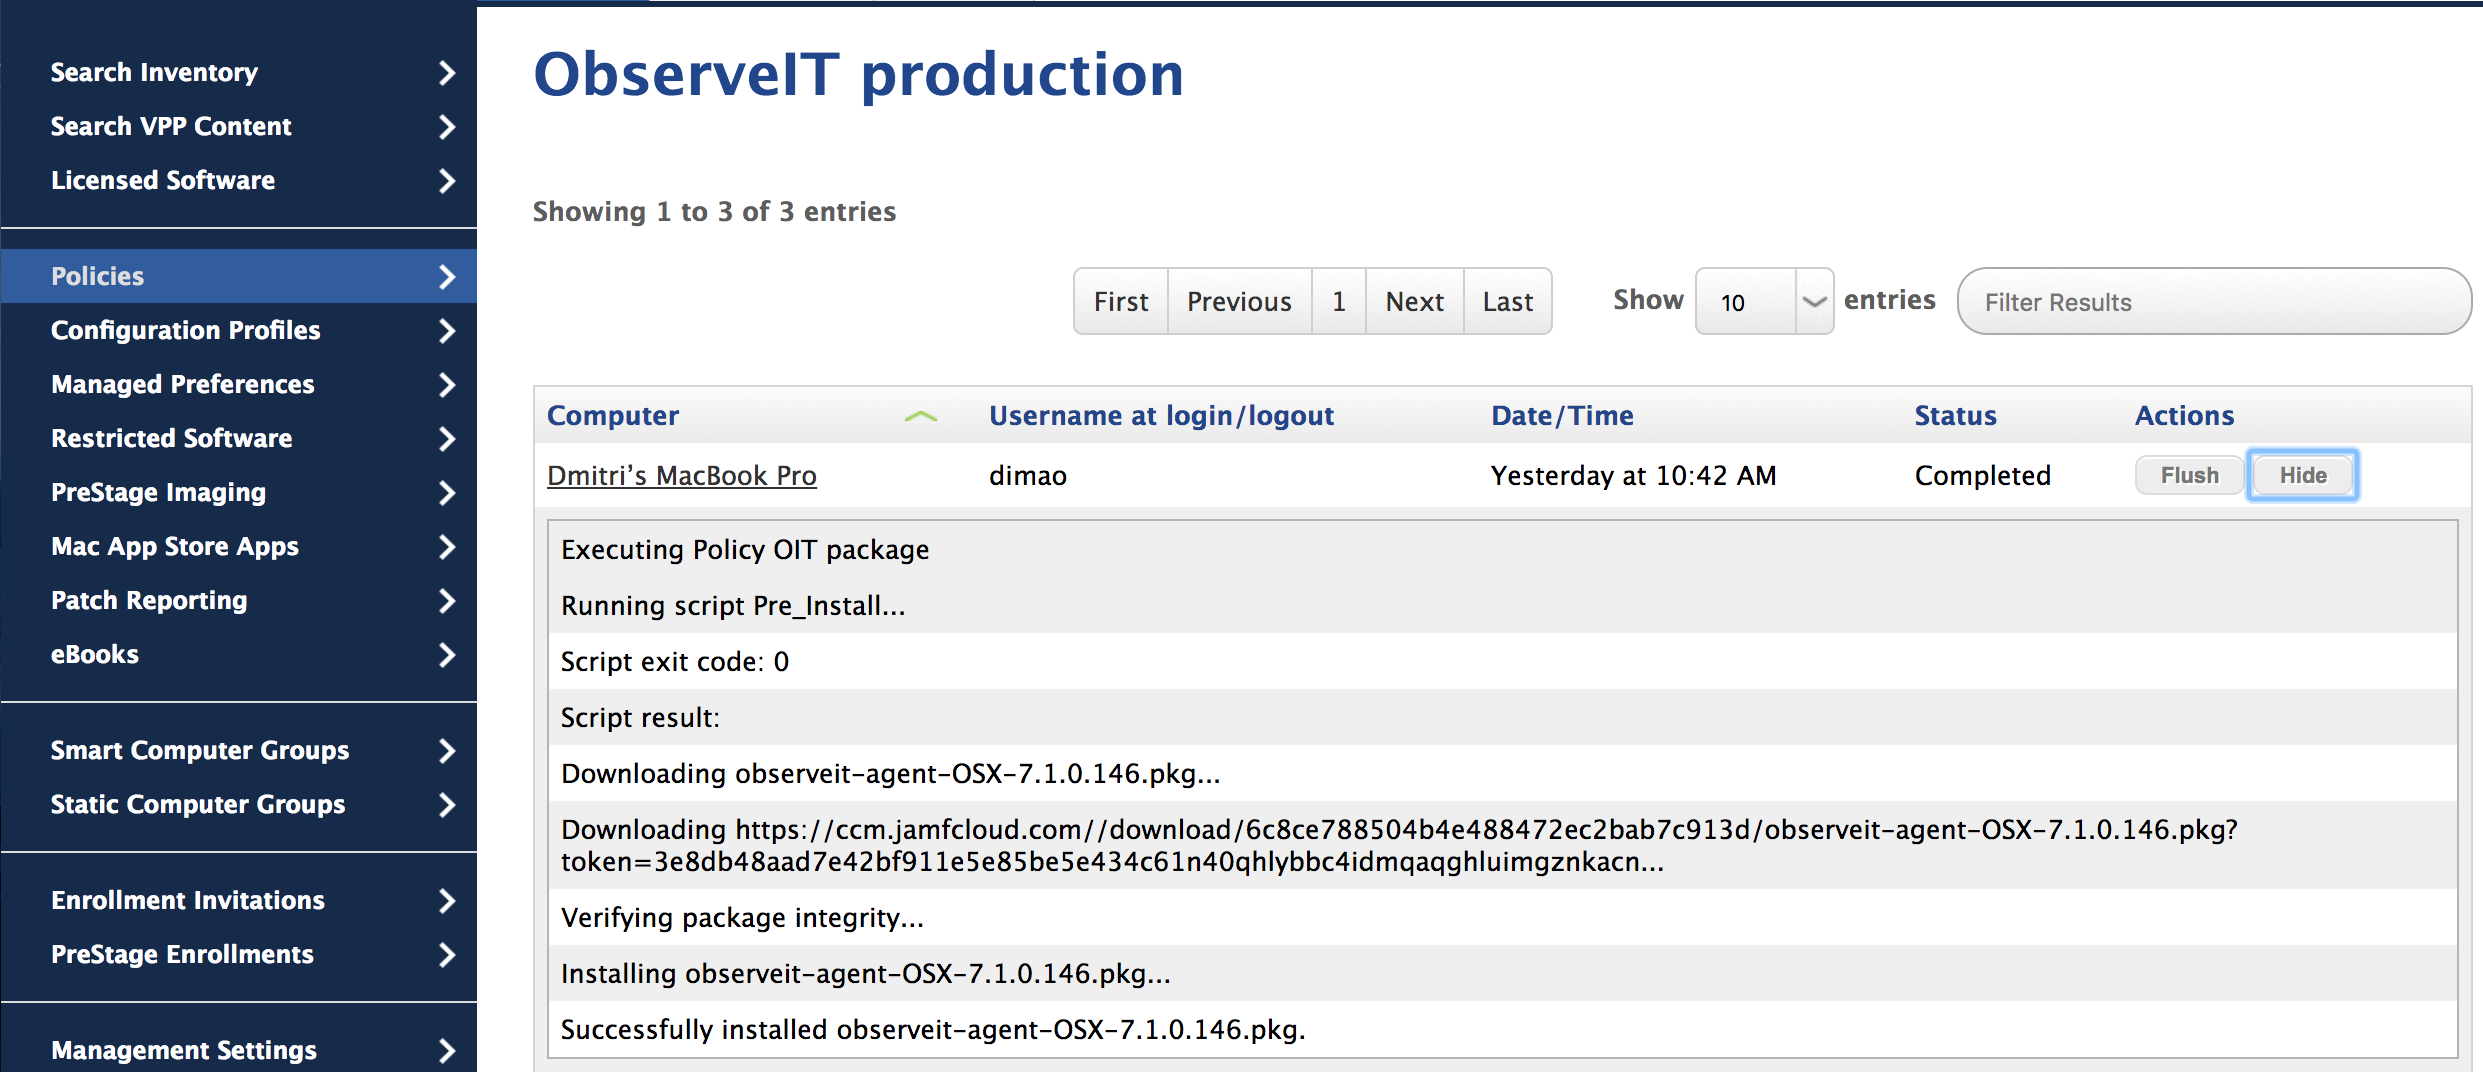
- To investigate a specific Agent’s installation log, click the Show toggle alongside it.
The details of the installation script are displayed. For example:
Note the following:
-
Clicking the Hide toggle closes the installation log details.
-
Clicking the Flush button will trigger a new deployment of the policy.
-
In the event of deployment failure, clicking the Flush All Errors button triggers a new deployment on any Agents which had errors on deployment.
-
Clicking Flush All triggers a new deployment on all the Agents regardless of installation success or failure.
The status of all deployment for all the policies is displayed in the JSS Dashboard, as shown in the following example:


Related Topics: