Assigning a Digital Certificate
This topic describes how to assign a digital certificate for the Web Console. You can use the Microsoft Management Console or Internet Information Services (IIS) Manager.
ITM On-Prem (ObserveIT) Recommendations:
-
Always assign a certificate
-
Encrypt the Web Console traffic by using HTTPS.
Consult with your organization’s security team to learn what type of digital certificate best fits your environment. When it is not possible to acquire a Certificate Authority certificate, a self-signed certificate may be used.
In most instances, the Web Console is deployed on the only ITM On-Prem (ObserveIT) Application Server in a smaller deployment or one of the ITM On-Prem (ObserveIT) Application Servers in case of a larger deployment. It is also possible to deploy the ITM On-Prem Web Console on a separate server.
(The following assumes an Enterprise Certificate Authority certificate is used.)
Using Microsoft Management Console
You can create an internal Enterprise Certificate Authority certificate for the Web Console using Microsoft Management Console.
-
From the Start menu and type mmc in the Run window. Enter.
If prompted Do you want to allow this app to make changes to your device? click Yes.
The Microsoft Management Console window opens.
-
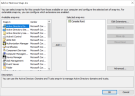
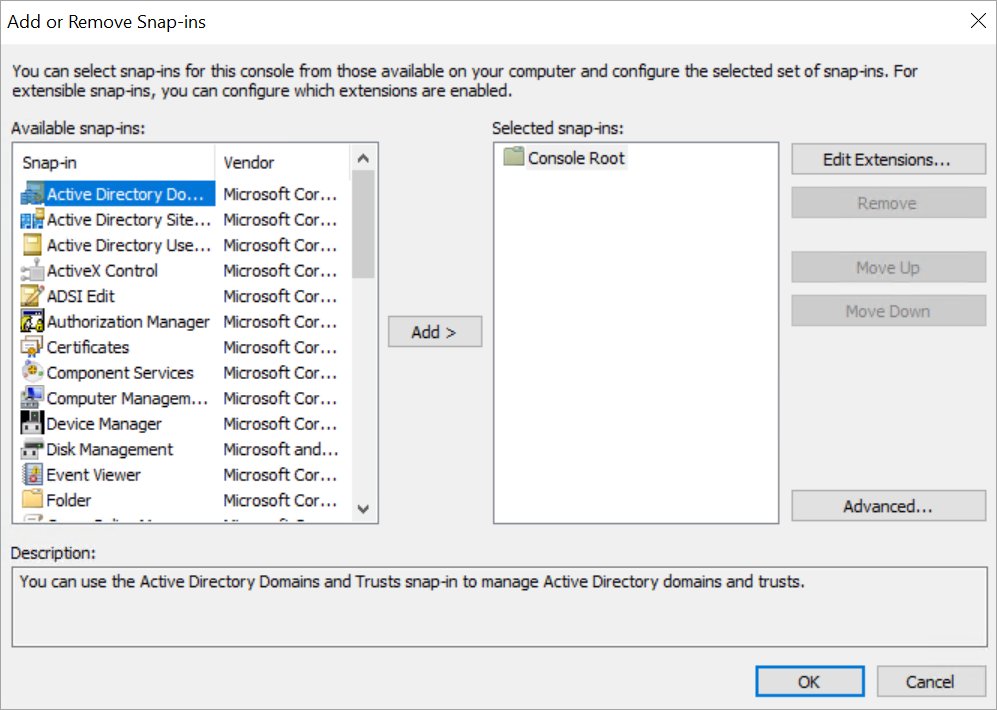
From the menu, select File > Add/Remove Snap-in.
-
From Available snap-ins choose Certificates and click Add.
-
In the Certificates snap-in window choose Computer account and click Next.
-
In the Select Computer window, from Select the computer you want this snap-in to manage options, select Local computer and click Finish.
-
Click OK to return to the Console window.
-
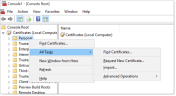
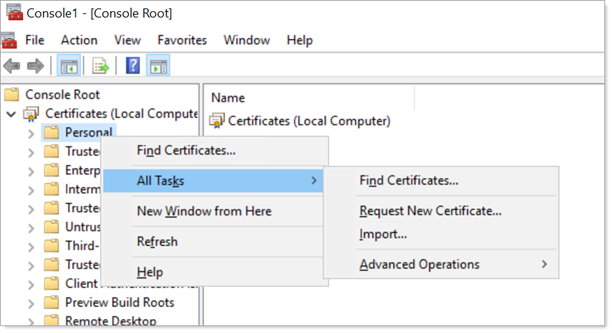
Expand Certificates (Local Computer).
-
Right-click Personal, select All Tasks and then Request New Certificate.
-
Click Next to close the Certificate Enrollment message. The Certificate Enrollment Policy page opens.
-
In the Select Certificate Enrollment Policy page select your enrollment policy (usually – Active Directory Enrollment Policy) and click Next.
-
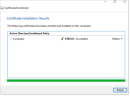
In the Request Certificates page select the certificate type (usually – Computer) and click Enroll.
-
Click Finish when the enrollment is successfully completed to close the window.
-
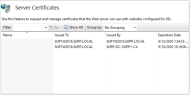
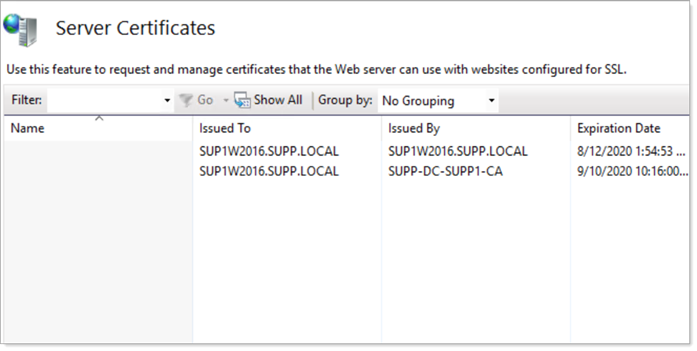
Confirm the newly-created certificate exists, ffrom the console, select Personal> Certificates.
The FQDN of the current server displays in the Issued To column.

Using Internet Information Services (IIS) Manager
You can create a self-signed certificate for the Web Console using the IIS Manager.
-
Connect to the ITM On-Prem Web Console machine.
-
Open Internet Information Services (IIS) Manager .
-
In Connections area on the left, select the relevant server and double-click the Server Certificates icon at the main page.
-
In the Actions area on the right, click Create Self-Signed Certificate.
-
In the Specify a friendly name for the certificate field, enter a descriptive name for the certificate. Click OK.
Related Topics:
Configuring Microsoft Internet Information Server (IIS)
Obtaining a Digital Certificate
Creating a New Application Pool in IIS
Creating a New Website in IIS for the Application Server
Creating a New Website in IIS for the Application Server
** Go to Custom Installation Steps.